Starting Seeds and Watch Them Grow
Team PlantTAGG2023-06-15T14:02:32-06:00With the recent winter freeze, it’s hard to think that Spring gardening is just around the corner! But, late February is the perfect time to begin prepping your gardens and starting seeds.
Preparing for the growing season usually means a bit of planning and planting. Though your local garden centers typically offer a great selection of plants, starting seeds is a fun, cost-effective, and efficient way to get more blooms for your buck. With great input on seed germination from Master Gardener Roseann Ferguson, we put together this blog post to help you get ready for Spring. So, let’s get started.
Starting Seeds Before the Last Frost
You typically want to start seeds several weeks before your area’s last frost. Frost dates are calculated based on data from the NOAA National Centers for Environmental Information. Generally speaking, especially in the South, the last frost falls in the late March timeframe, making February an ideal time for starting seeds.
The Setup for Starting Seeds
You don’t have to spend a lot of money on supplies for starting seeds. In fact, you may already have most (if not all) of the items readily available. Here are some common tools used for starting seeds:
- Upcycled containers – Containers from food delivery or grocery pickup work great. Sizes are endless and offer a lot of flexibility. Make sure to clean them well and poke holes in the bottom for drainage before using.
- Nursery flat – If you have one from a prior visit to your local garden center or nursery, reuse it! If not, you can upcycle something else in your house to help keep your seed containers stable.
- Bricks – A stack of bricks on each end helps raise the light once seedlings start growing. If you do not have any bricks at home, you can pick up a few pieces at your local hardware store.
- Boot tray – Boot trays work great to protect the surface underneath from water coming out of the drainage holes.
- Lighting – Some gardeners prefer a grow light to control the optimal amount of light and warmth on your plants. However, you can just as easily place your setup on the windowsill.
Soil is Key for Starting Seeds
As with all gardening, the soil is critical. You’ll need a seed-starting mix for starting seeds indoors. It has the right combination of fast-draining materials and nutrients to help the seeds get established. It’s important not to use gardening soil. Gardening soil isn’t sterile, and when it dries, it may become so hard that the seedlings can’t emerge.
Key Aspects of Seed Germination
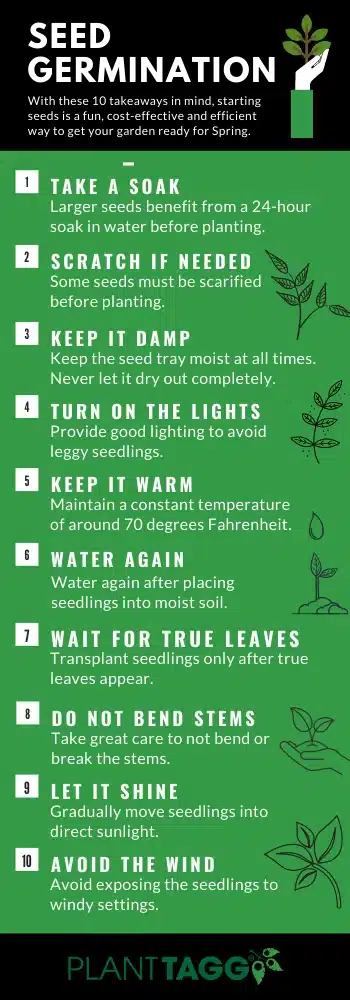
It’s important to keep in mind several aspects of seed germination when starting seeds. First, know what you’re planting! Research the needs of the seeds you are planting, especially if you are planting seeds that have been harvested (i.e., those not bought at the store). Here are several key aspects to note:
- If buying seeds, always follow directions for depth of planting. Some seeds are planted on top of soil, in which case they will require light to germinate.
- Large seeds benefit from a 24-hour soak in water before planting.
- Some seeds must be scarified (scratched or nicked) before planting.
- Some seeds require a period of cold stratification (replicating overwintering) before planting.
- Keep the seed tray moist (not soupy). Never allow the soil to dry out completely.
- Provide good light to avoid leggy seedlings.
- Maintain a constant temperature of around 70 degrees Fahrenheit.
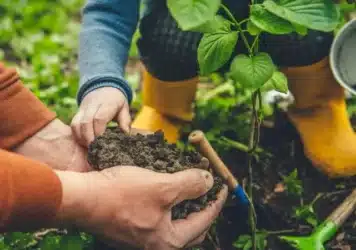
- When transplanting seedlings, make sure the soil is damp in new pots before placing the seedlings. Dry soil will wick moisture from plant roots and will damage or even kill the new plant. Water again after placing the new seedlings into the moist soil.
- Transplant seedlings only after the first or second set of true leaves appear.
- Handle seedlings carefully by a leaf when transplanting. Take great care to not bend or break the stem.
- Gradually move seedlings into direct sun.
- Avoid exposing new seedlings to windy settings.
Starting Seeds for Edible Crops & Beautiful Flowers
With a record number of people gardening, demand is higher than ever for seeds—especially for popular edible crops like strawberries, tomatoes, and peppers. Many vegetables, annuals, and perennials can be grown easily from seed, and some heirloom varieties can only be grown this way.
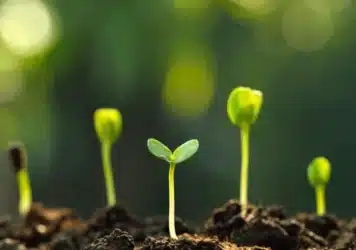
Once you drop in your seeds, you let them sit. It may be a few days or a few weeks depending on what you planted. But once seedlings develop a second set of leaves, it’s time to transplant them into larger containers. They can stay in the larger containers until you’re ready to put them into the ground once you’ve had a chance to prep your new garden space. From there, you’ll be off to the races with your Spring garden.
The most important tip to remember is to grow what you love! Experiment. Try new things and have fun! Always wanted to add more basil to your diet but hated paying $5 for a small bunch at the supermarket? Love a beautiful butterfly garden but not sure where to start? Wishing you could add that gorgeous unusual flower you identified in the botanical garden to your own yard? Try starting seeds!
Starting Seeds with PlantTAGG Help
And once you get your plants in the ground – be sure to set up your new zone in PlantTAGG! PlantTAGG will help keep your new flowers, vegetables and plants alive and thriving. What’s more? PlantTAGG is free to use with nothing to download or install. Text ‘PLANTS’ to 46376 to get started today!



Leave a Reply